Description
Grandstream GXP1625 Basic SIP Configuration Guide
Prerequisites
- Must have a pbx account and a Grandstream GXP1625
Table of Contents
Manual Process
- Step 1 – Access Page
- Step 2 – Account Navigation
- Step 3 – Account Selection
- Step 4 – Account Configuration
Auto Provsioning
- Step 1 – Knowing the MAC Address
- Step 2 – Adding Device For Auto-Provisioning
- Step 3 – Extension Assignment
- Step 4 – Auto Provision
- Step 5 – Config Server Path
- Step 6 – Save and Apply
Grandstream Physical Interface
Manual Process
Step 1 - Loging In

1. Input the IP address of your Grandstream into the address bar of your browser.

2. The default username and password will be admin.
Step 2 - Account Navigation

Click on the Accounts tab as shown above.
Step 3 - Account Selection
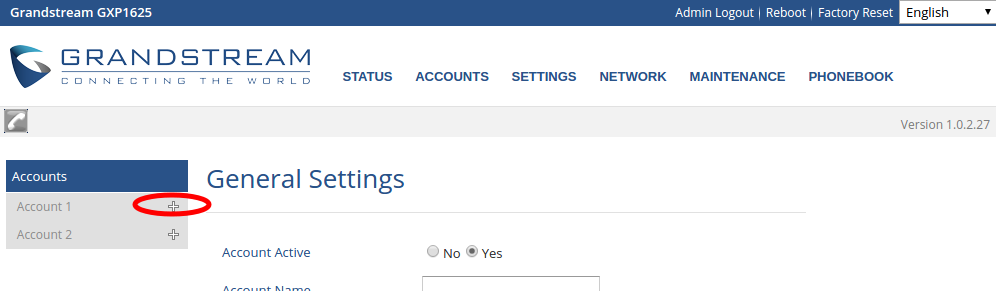
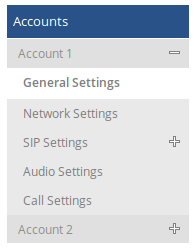
Select an account to configure by expanding the menu next to either Account 1 or Account 2 by clicking the + symbol, if a - symbol is visible next to either account, the menu has already been expanded.
Step 4 - Account Configuration
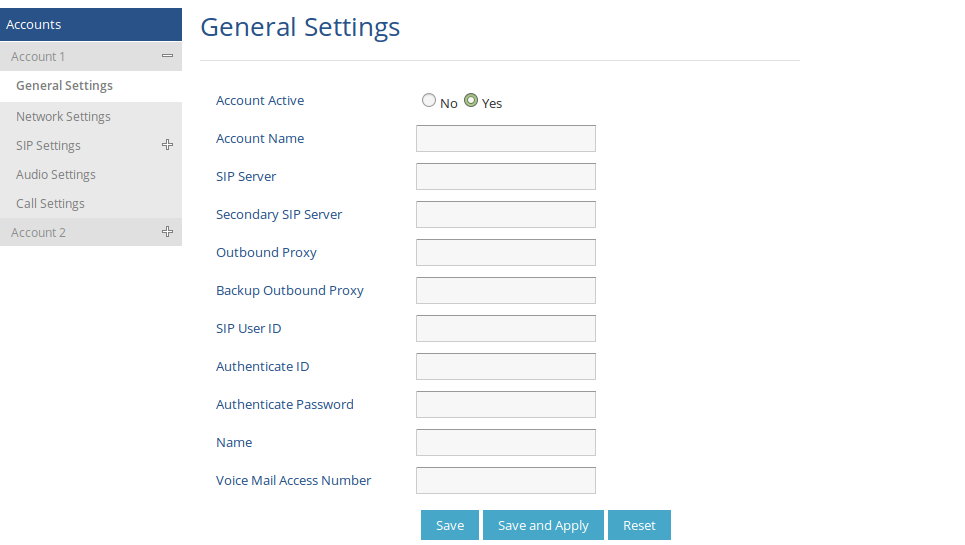
- Make sure
General Settingshas been selected. - Input the PBX domain into the
SIP Serverfield, you may also input this intoSecondary SIP Server. Outbound ProxyandBackup Outbound Proxyfields may be left blank unless otherwise directed.- Input the extension number for the extension you intend to register to this account in the
SIP User IDandAuthenticate IDfields. - Input the extension’s password into the
Authenticate Passwordfield. - Input the voicemail extension number of the SIP extension, keep in mind you’ll still need to press
0after accessing the voicemail extension to login and listen to the messages. - Click the
Save and Applybutton found near the bottom of the page. - The fields
Account NameandNameare optional non-required fields.
Step 5 - SIP Port Staggering
1. Expand SIP Settings.
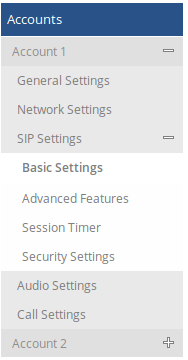
2. Click on Basic Settings.
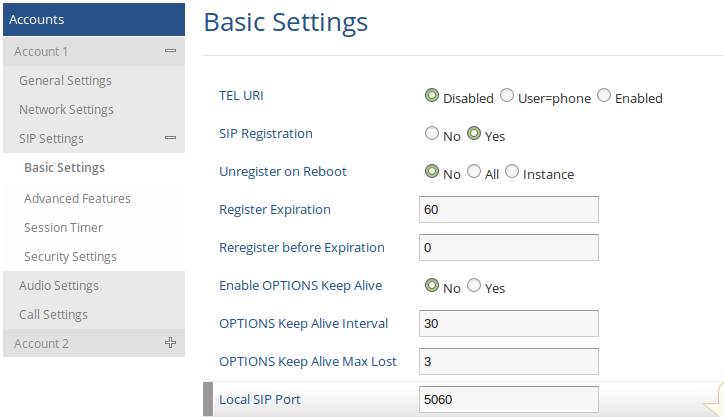
3. Be sure to consider all the SIP registrations on your LAN, make sure each SIP registration both from VOIPo and other VOIP providers you have on your LAN aren’t trying to use the same SIP port. You can help avoid SIP registration conflicts by inputting a SIP port in the 5060-5098 range that isn’t used by other SIP devices in the Local SIP Port field accordingly.

4. Unless otherwise directed don’t edit the other settings on the page and click the Save and Apply button near the bottom of the page.
Auto Provisioning
Step 1 - Knowing the MAC Address
- To begin you will need to know the MAC address of your Htek phone. Input the IP address of your Grandstream into the address bar of your browser. The default username and password will be
admin.
- Once logged in click on the
Statustab as shown above.
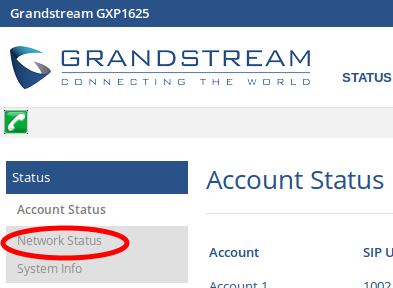
3. Click on Network Status on the page that renders.
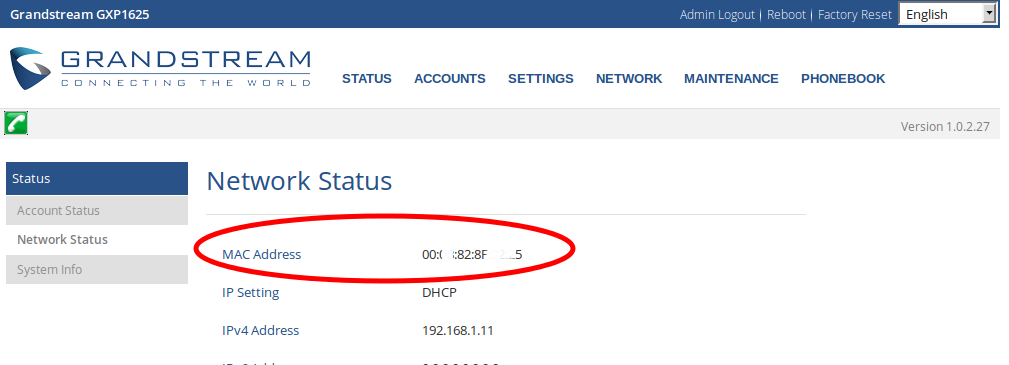
4. You`ll see the MAC address rendered in the page as shown above.
Step 2 - Adding Device For Auto-Provisioning

1. Log into the PBX and click the Provisnoing tab at the top of the page.
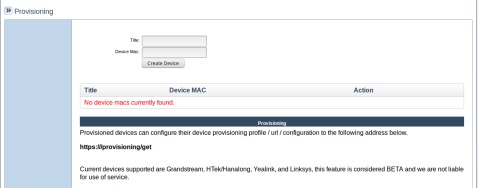
2. Input the extension number in the Title field.
3. Input your Htek’s MAC address into the Device Mac field and click Create Device
Step 3 - Extension Assignment
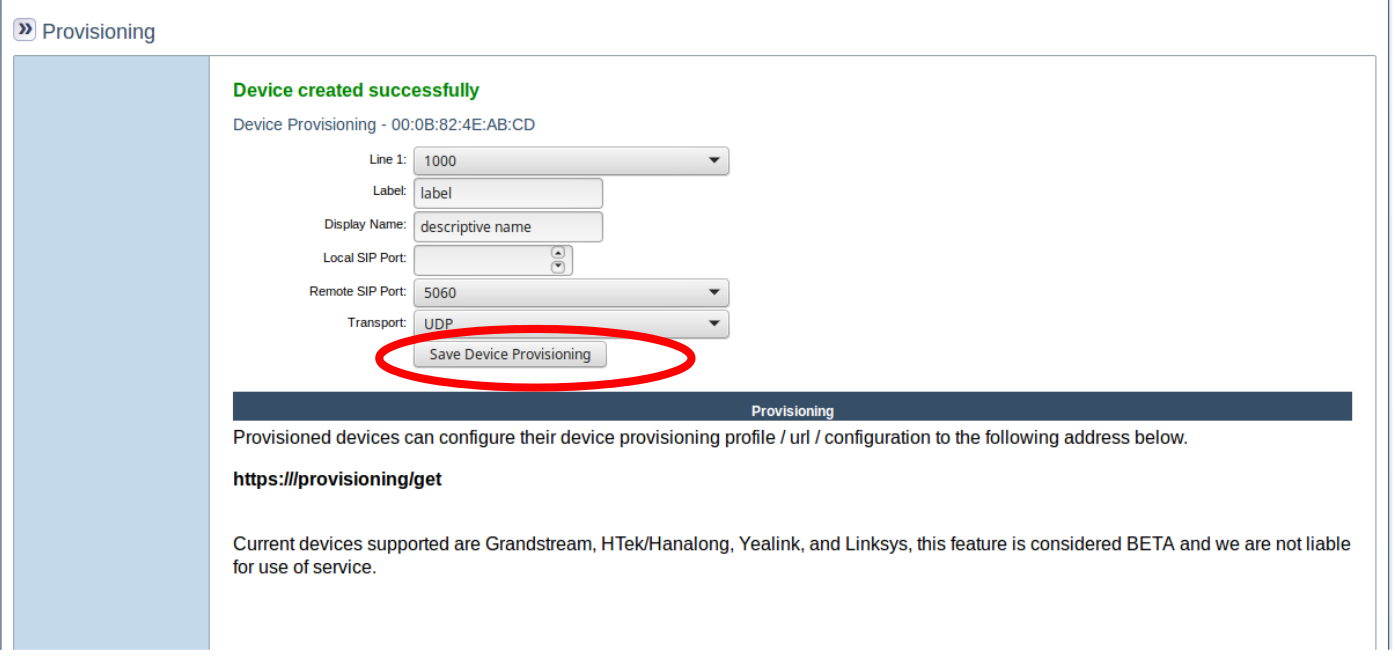
- Select an extension to tie the device to using the
Line 1dropdown list as shown above. LabelandDisplay Nameare optional fields.Local SIP Portshould be left blank unless you are otherwise directed.Remote SIP Portshould be left at the default as shown above unless you are otherwise directed.Transportshould be UDP unless you otherwise directed.- Once all is configured, click the
Save Device Provisioningbutton and feel free to close the tab in your browser.
Step 4 - Auto Provision

- Input the IP addressof your Grandstream into the address bar of your browser.
- The default username and password will be
admin. - Click the
Maintenancetab as shown above.
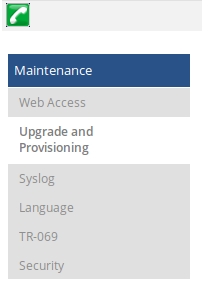
4. Click on the Upgrade and Provisioning tab on the menu that appears below the Maintenance tab.
Step 5 - Config Server Path
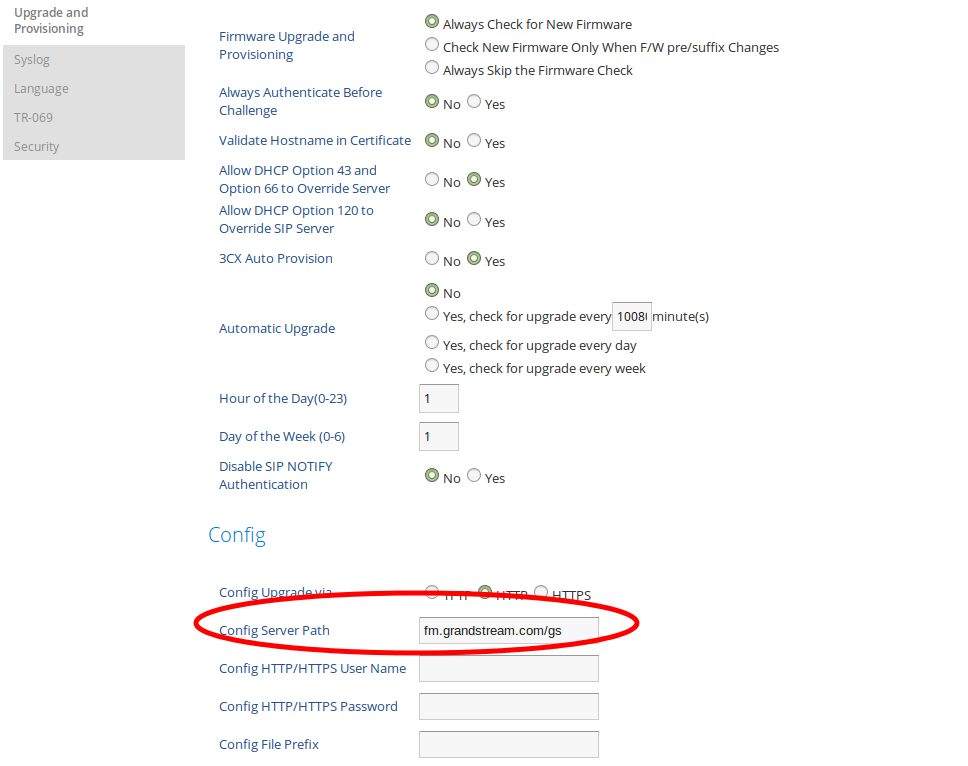
- Input your provisioning url into the
Config Server Pathfield. A default value offm.grandstream.com/gsmay be present and should be removed.
Step 6 - Save and Apply
- Scroll down to the bottom of the page and click the
Save and Applybutton.
Grandstream Physical Interface
Finding IP Address
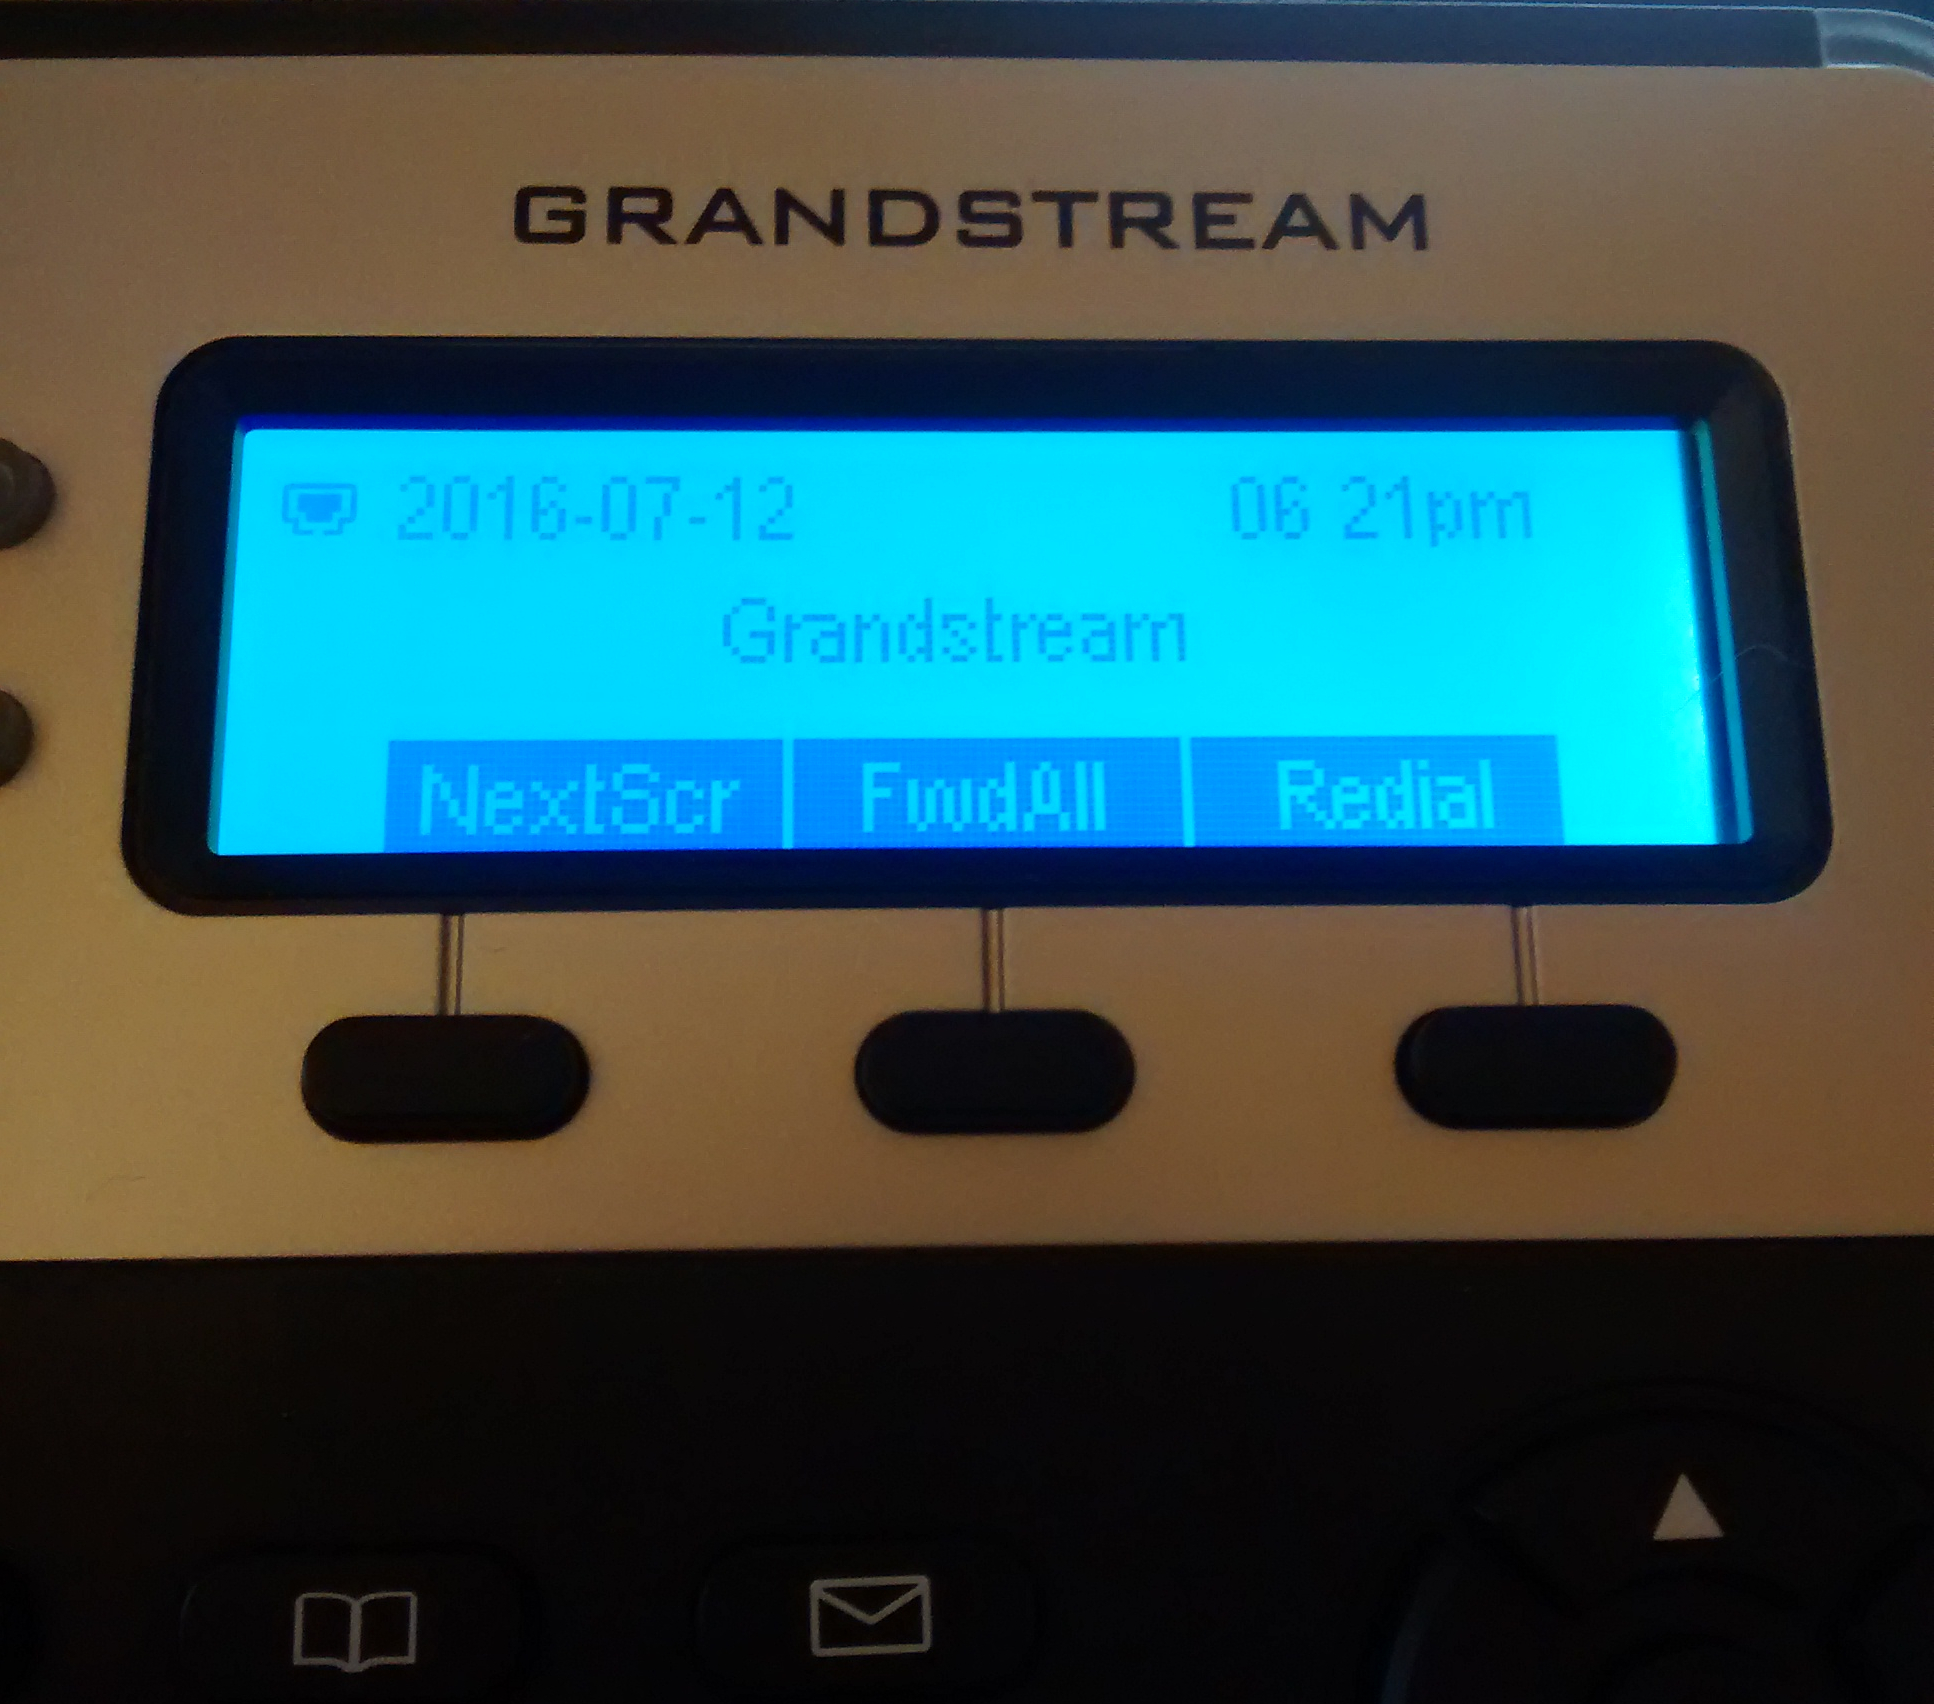
1. On the Grandstream press the button which is just beneath the NextScr icon on the Grandstream’s LCD display.
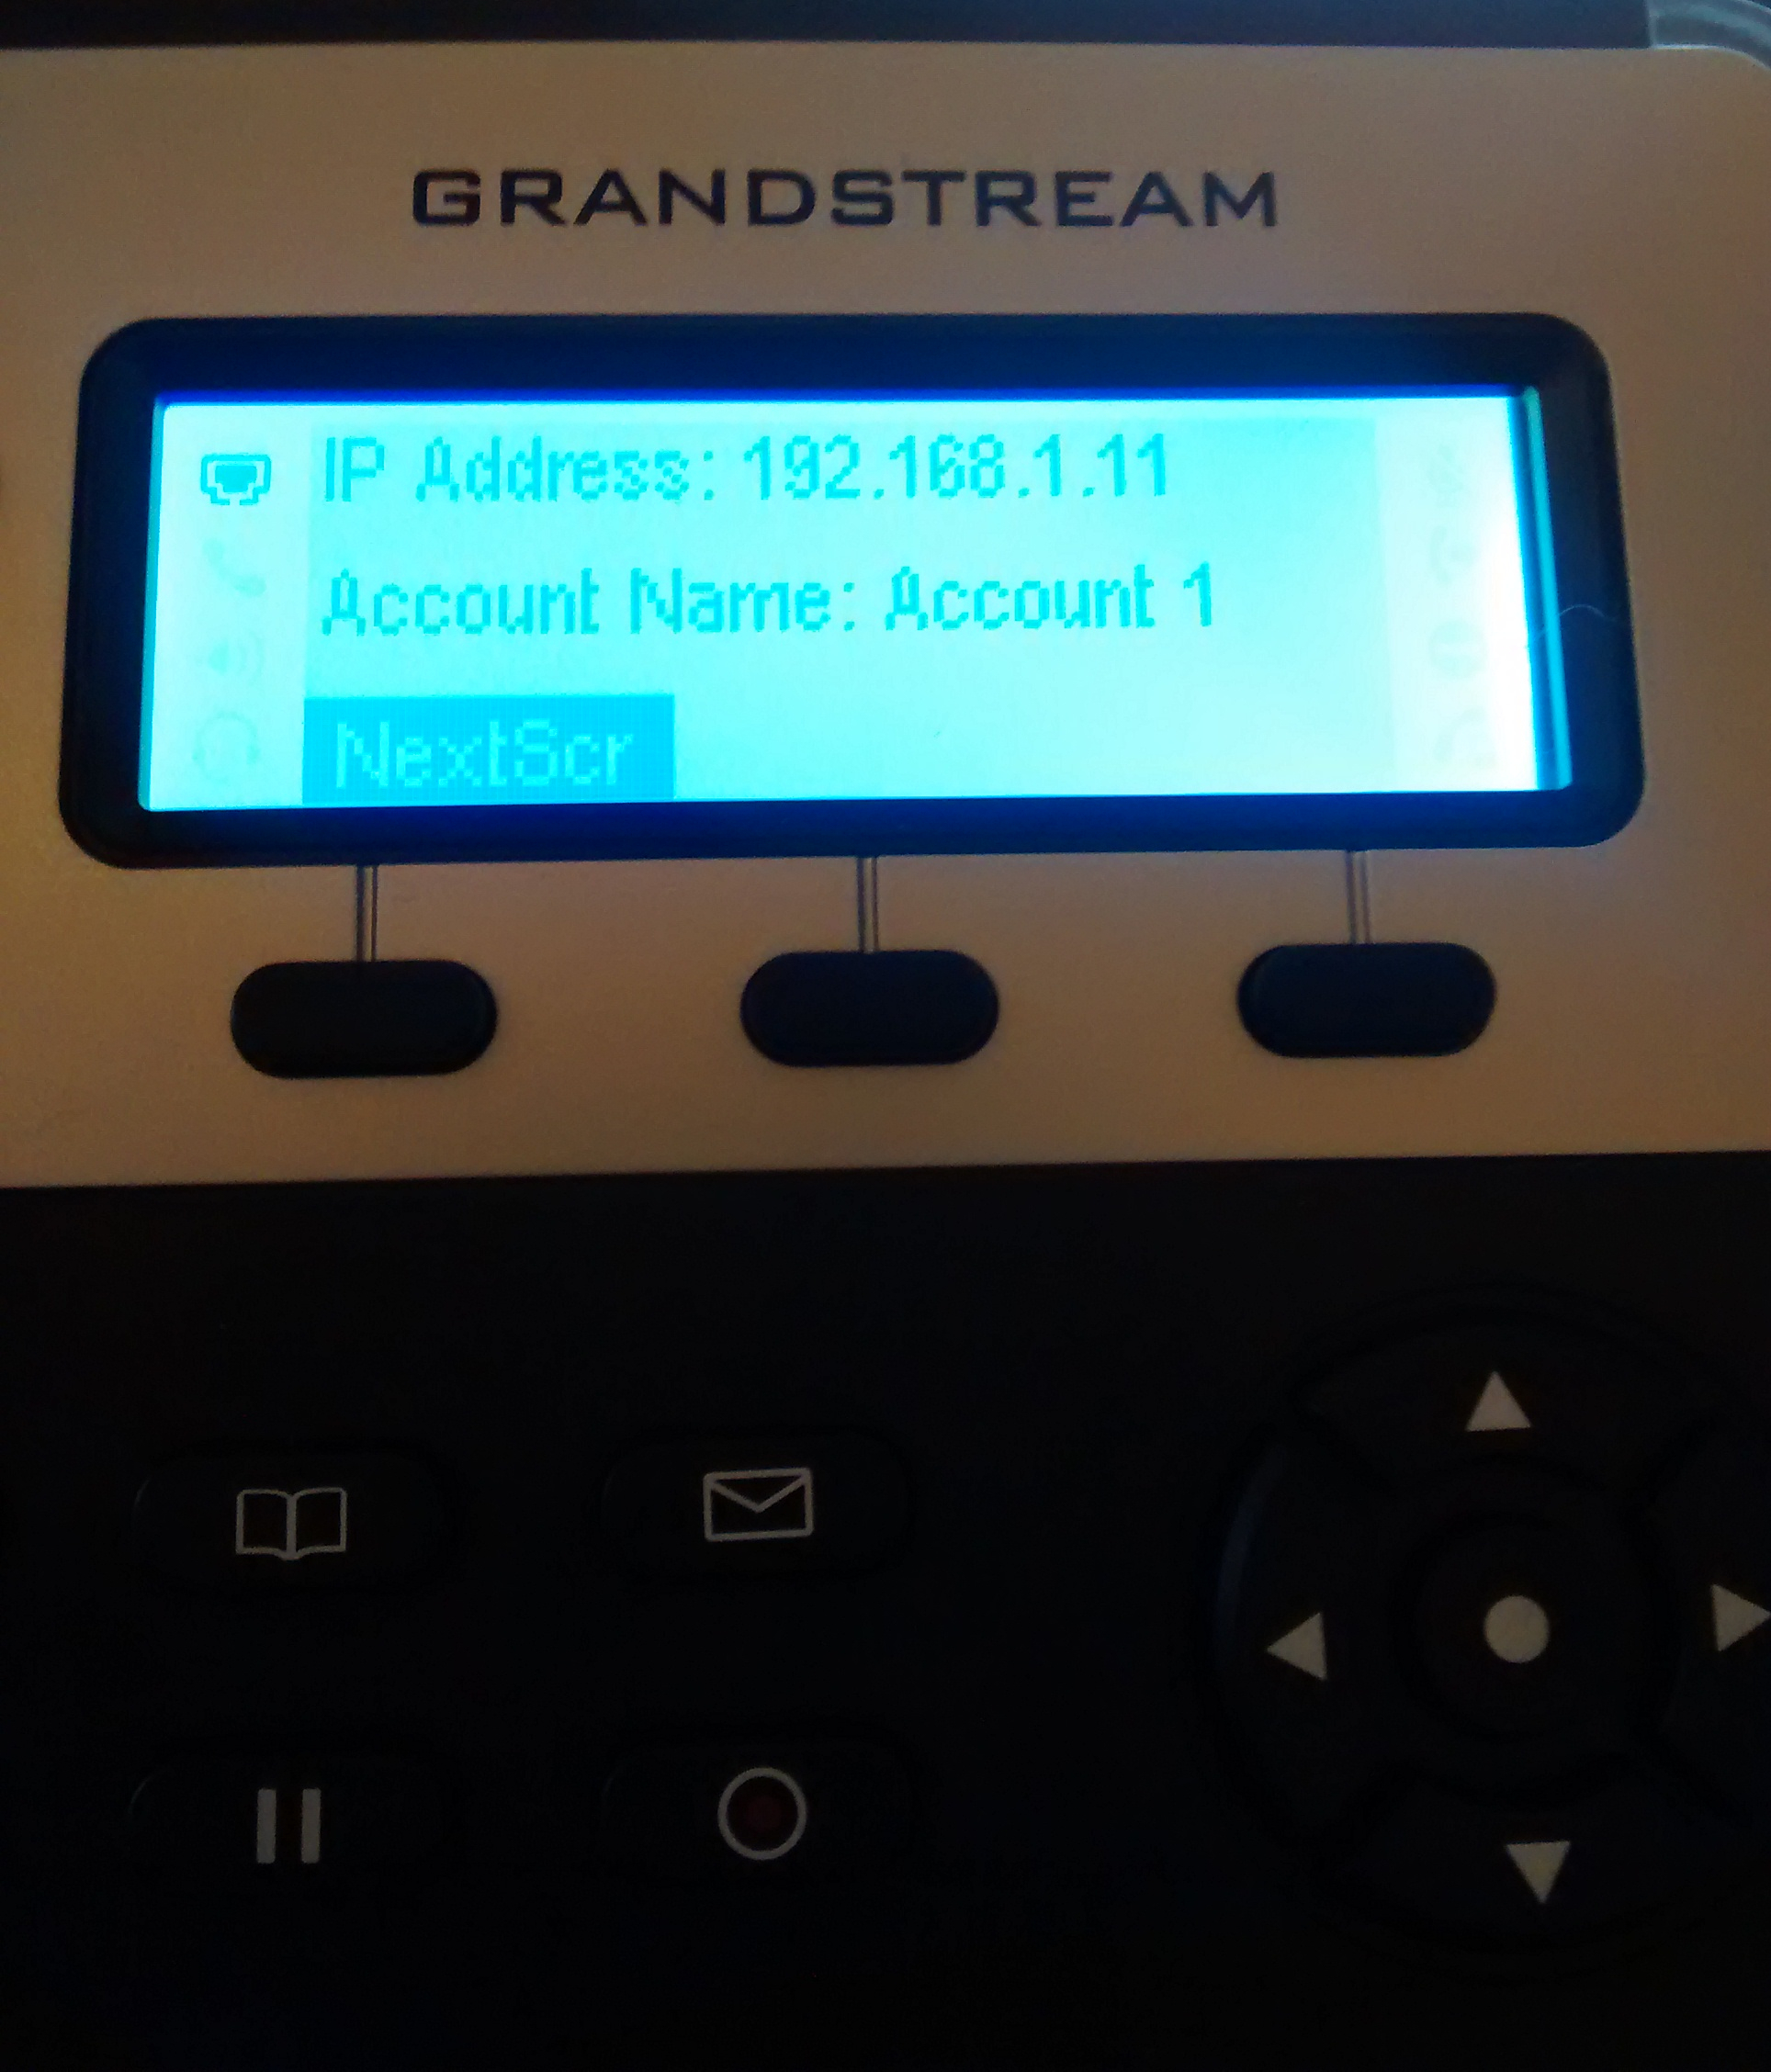
1. Continue pressing the button which correspond s to the LCD display’s NextScr icon until the LCD display shows the phone’s IP as illustrated above.